

Keurig is one of the most widely used home coffee machines today. This is because the coffee machine has made it so simple to make coffee at the press of a button. However, not all Keurigs are created equal, and they, like everything else in life, have flaws. For example, when using a Keurig, you may see the dreaded “Prime” error message.
Why does my Keurig say Prime?
This might be one of the most frustrating and irritating things that can happen when you’re in a hurry and just want to buy a coffee. But, thankfully, there’s no reason to be concerned.
I’ll show you six quick and straightforward steps for this widespread problem in this in-depth post!
Contents
- 1 Why Does My Keurig Say Prime?
- 2 Step-By-Step Instructions For Priming Your Keurig
- 2.1 Step 1: Remove your Keurig from the outlet and unplug it
- 2.2 Step 2: The water reservoir must be emptied and cleaned
- 2.3 Step 3: Remove the filter screen and clean it
- 2.4 Step 4: Remove the needle and clean it
- 2.5 Step 5: Connect your system and perform a thorough descaling cycle
- 2.6 Step 6: Run two brewing cycles with water
- 3 What To Do If My Keurig Still Says Prime?
- 4 Conclusion
Why Does My Keurig Say Prime?
The Keurig Prime indicates that water is not correctly entering the brewer from the water reservoir. Until you address this issue, your maker will not be able to brew coffee.
What does it mean when Keurig says Prime?
- Your water storage tank is filthy.
- It’s time to clean your water filter and filter screen.
- The water reservoir isn’t correctly placed in the base (maybe someone accidentally moves or bumps into your machine).
- The water reservoir lid establishes an airtight seal, preventing the brewer from siphoning in additional water (if this is the case, try breaking the lid a little since I’ve had this problem before).
- It’s possible that the brew needle or K-cup brew head is clogged and needs to be cleaned.
Step-By-Step Instructions For Priming Your Keurig
Don’t panic if your Keurig machine says Prime: it’s a quick and painless operation. Instead, follow our easy step-by-step instructions by scrolling down.
Step 1: Remove your Keurig from the outlet and unplug it
To begin, turn off your Keurig completely. To avoid electrical problems, turn it off and disconnect it.

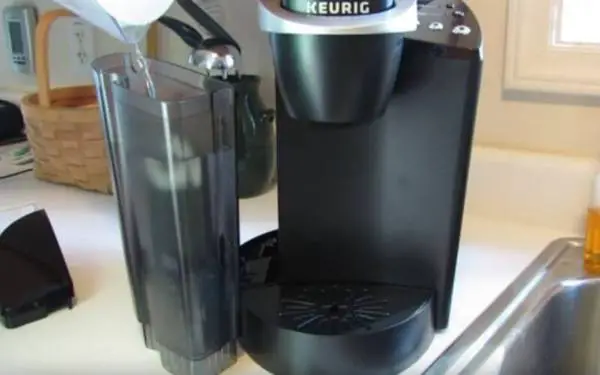
Step 2: The water reservoir must be emptied and cleaned
If your water reservoir is removable, remove it and thoroughly clean it with soap, a soft sponge or washcloth, and warm water. If you can’t get it out, put your machine in the sink and thoroughly wash it, being cautious not to get any other parts wet.
Step 3: Remove the filter screen and clean it
The filter screen might also cause the problem. Detach the water reservoir from the coffee maker and lift it upwards to reveal its base after that’s done. Cleaning the base, ideally with a moist microfiber cloth, is recommended.
On top of the reservoir, there is generally a mesh filter. Run water through this filter to flush away any material that has accumulated. Following that, the reservoir should be drained and replenished with fresh water.

Step 4: Remove the needle and clean it
Take a thorough check at the piercing needle in your Keurig’s brew head. If any muck or coffee has accumulated, carefully remove it with a paper clip or safety pin. Using your sponge or rag, clean the needle.

Step 5: Connect your system and perform a thorough descaling cycle
Replug the machine and reconnect the water reservoir. Place a cup under the brew head and start a descaling cycle with the descaling solution and water in the tank. Mineral accumulation will be removed from the equipment as a result of this procedure.
Step 6: Run two brewing cycles with water
You’ll want to rinse off your Keurig if you don’t want to taste cleaning materials in your next cup of coffee. Fill your water tank with ordinary water and perform brew cycles until it’s empty.
What To Do If My Keurig Still Says Prime?

Your Keurig should be back in working condition now that you’ve completed all of these steps. If it isn’t, you’re about to smash your head into a brick wall and ask “Why does my Keurig say Prime?”.
There are a few more things to check before you do that. We’ve already covered how to Prime a Keurig on your own, so let’s look at a few additional options that could help you fix the Keurig Prime error.
A Keurig will occasionally display a Prime error when the only problem with the machine is that the water reservoir isn’t correctly attached.
If you’re afraid that you did some steps wrongly, check out this video: KEURIG DISPLAY READS PRIME — ONE MINUTE FIX
Check the attachments
So you’ve already Primed your Keurig, but it’s still requesting that you fix it?
Unplug the machine once more. Remove the reservoir and firmly reconnect it. Try running another cycle once you’re confident that everything is in the machine as it should be. At this time, the Prime mistake should have gone away.
Contact customer service
If your Keurig is still not functioning correctly, you should contact the manufacturer. The majority of devices come with a one to two-year warranty. If your computer is still under warranty, there’s a high possibility they’ll replace or repair it at no charge to you.
Specific Keurig model numbers are occasionally subject to recalls owing to defective components. Even though your warranty has expired, you may still be protected if your vehicle is one of the models on the recall list.

Keurig has one of the friendliest and easiest-to-work-with customer service departments in the industry, so even if you’re out of warranty and not on the recall list, it’s worth calling them regardless.
They have educated specialists that can guide you through the troubleshooting procedure to determine why your equipment isn’t working and, if necessary, order replacement components.
Conclusion
Why does my Keurig say Prime? I hope now you have the answer to that question. To be honest, the “Prime” error is a great fundamental one since many of the recommendations in this article should be considered routine maintenance in the care of your coffee machine.
As a result, even after correcting the problem and executing them now, make it a habit to execute them every 3 to 6 months. If you clean it frequently, your Keurig can last between 5 and 10 years. They might make a difference in how long your coffee machine lasts. In conclusion, take care of your coffee maker so that your Keurig doesn’t say Prime as often.
Further Reading: Why Are Keurig Lights Blinking?